
Introduction
Treating yourself to a rejuvenating facial at home can be a luxurious and therapeutic experience. In this comprehensive guide, we’ll walk you through a step-by-step process for a spa-like facial in the comfort of your own home. Follow these simple steps to achieve a radiant and refreshed complexion without leaving your doorstep.
Gather Your Supplies
Before you begin to do facial at home, please ensure you have all the below mentioned necessary supplies:
- Cleanser
- Exfoliator
- Steam (hot water and a bowl)
- Facial mask
- Toner
- Moisturiser
- Face towel
- Relaxing music (optional)
Start with a Clean Canvas
Begin your at-home facial by thoroughly cleansing your face with a gentle cleanser. This will remove any makeup, dirt, or impurities, preparing your skin for the upcoming treatments.
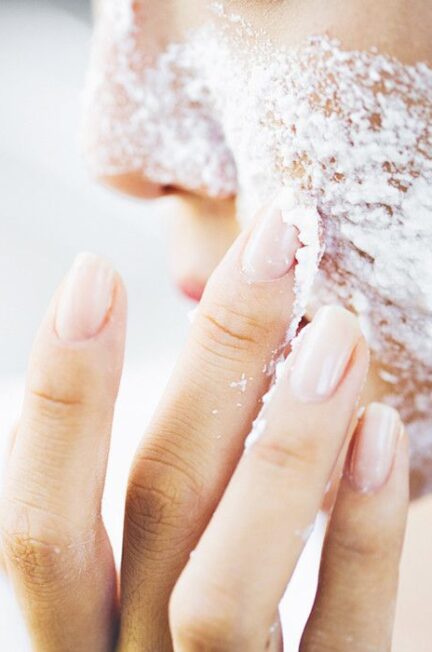
Exfoliate for Smooth Skin
Apply an exfoliating scrub to gently slough off dead skin cells and promote cell turnover. Focus on areas prone to dryness or roughness, such as the forehead, nose, and chin. Rinse off the exfoliator with the help of lukewarm water.

Open Up Pores with Steam
Create a steam treatment by leaning over a bowl of hot water, covering your head with a towel. This will open up your pores, making it easier for subsequent products to penetrate the skin. Steam for about 5-10 minutes, taking breaks if needed.
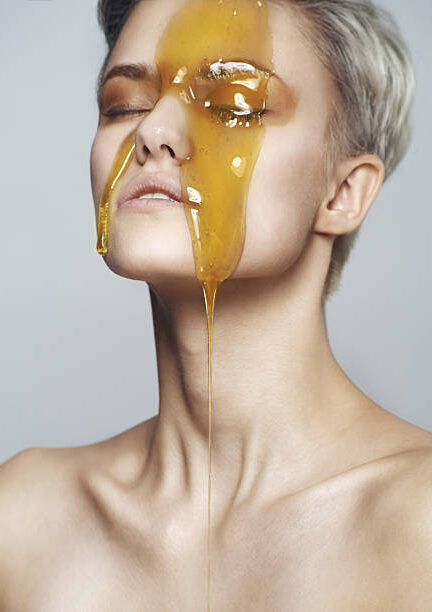
Apply a Nourishing Mask
Choose a facial mask based on your skin’s needs. Whether it’s hydrating, detoxifying, or calming, apply the mask evenly to your face, avoiding the delicate eye area. Allow it to sit for the recommended time, typically 15-20 minutes, and use this time to relax with soothing music or a good book.
Hydrate and Tone
After removing the mask, pat your face dry with a clean towel. Follow up with a toner to balance the skin’s pH and prepare it for moisturization. Apply toner using a cotton pad, sweeping it gently across your face.
Moisturize for Lasting Hydration
Choose a moisturizer suitable for your skin type. Apply it in upward, circular motions, focusing on areas prone to dryness. A well-moisturized face helps lock in the benefits of the facial and keeps your skin supple.
Bonus Step: Eye Treatment (Optional)
If desired, treat your under-eye area with a specialized eye cream or gel to reduce puffiness and dark circles. Use your ring finger to apply the product gently, avoiding any harsh tugging.
Relax and Enjoy the Results
Take a moment to appreciate your radiant skin and the relaxation that comes with an at-home facial. Repeat this routine regularly for optimal results, customizing the products to address your skin’s specific needs.
Conclusion
Indulging in a facial at home can be a rewarding self-care practice. By following this step-by-step guide, you can recreate the spa experience and achieve a glowing complexion without the need for a professional esthetician. Treat yourself to this pampering session regularly, and enjoy the benefits of radiant, refreshed skin from the comfort of your home.

Nice
I need to do a self care day and try this! Thanks for sharing the steps on doing a facial at home.
https://www.kathrineeldridge.com
I do love a relaxing facial. Thanks for sharing this step by step guide.
Julia x
https://www.thevelvetrunway.com/
Such a great guide!
Kisses, Paola.
Expressyourself
My Instagram
Your guide to a rejuvenating at-home facial is fantastic! It’s so true that creating a spa-like experience at home can be both relaxing and effective. The detailed steps you’ve provided— from cleansing to exfoliating—are perfect for achieving that radiant, refreshed look.
I’ve just posted a new blog on how to style jeans and a tank top for date night. It might give you some fresh outfit ideas to complement your glowing skin! Check it out here: https://www.melodyjacob.com/2024/07/how-to-style-jeans-and-tank-top-for-date-night.html